
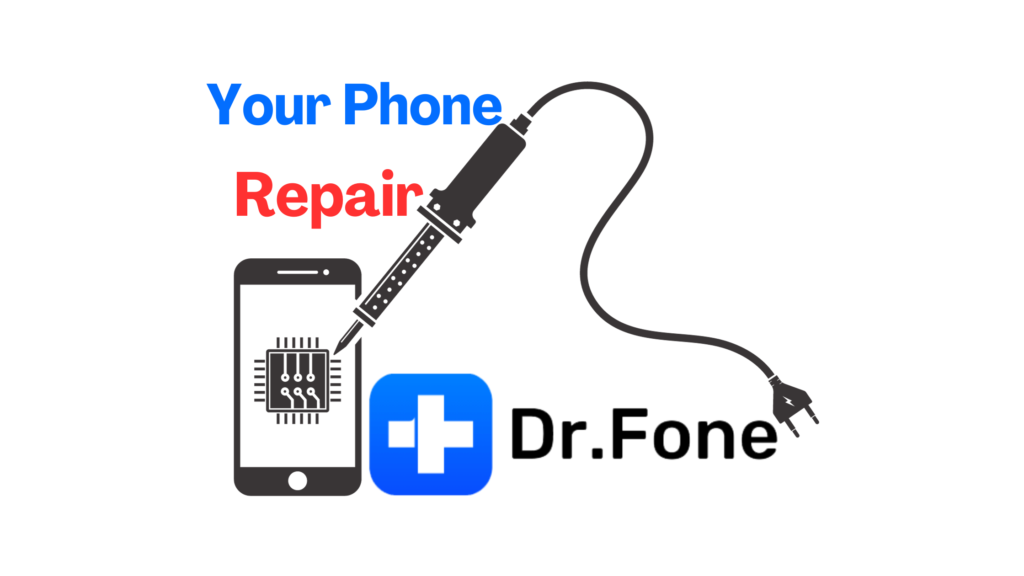
Wondershare The complex software constellation known as Dr.Fone excels at managing digital data on mobile platforms.
Well known for its skillful ability to recover deleted data, it includes a variety of apps for iOS and Android devices.
These services include screen emancipation, data archiving and resuscitation, system rejuvenation, and phone data migration.
Because of its easy-to-use interface, Dr.Fone is a popular option for a wide range of users from tech enthusiasts to regular people who want to recover and manage mobile data with ease.
Wondershare Dr.Fone Is A Complete Toolkit for Every Solution

Data Eraser Features:
- Deleting individual iOS messages, contacts, call records, photos, and videos.
- Delete all data from third-party apps, such as Viber, LINE, Kik, and WhatsApp.
- Remove extraneous files to improve the performance of your iPhone or iPad.
- Manage large files and increase iPhone storage.
- Erase Android devices forever.
- Delete all private information, including contacts, messages, call logs, and images.
- Increase phone resale value by providing a thorough data deletion report.
- Compatibility with every Android device currently in use.
![]()
Password Manager
- Find your Apple ID account.
- Analyze and present email addresses.
- Get website and app passwords back.
- Discover saved passwords for WiFi.
- Retrieve passcodes for Screen Time.
Other Product from Wondershare
| Name | Key Feature | Check live |
| Filmora | Video Editor with AI Powered | Click Here |
| UniConverter | Seamlessly convert High-definition videos with lightning-speed. | Click Here |
| HiPDF | All-in-one online PDF solution. | Click Here |
| MobileTrans | Transfer, backup and restore data between phones. | Click Here |
| Recoverit | Most incredible all-in-one data recovery software for Windows and Mac. | Click Here |
If you have more specific questions or need further information or like this content feel free to comment and share it as you like!
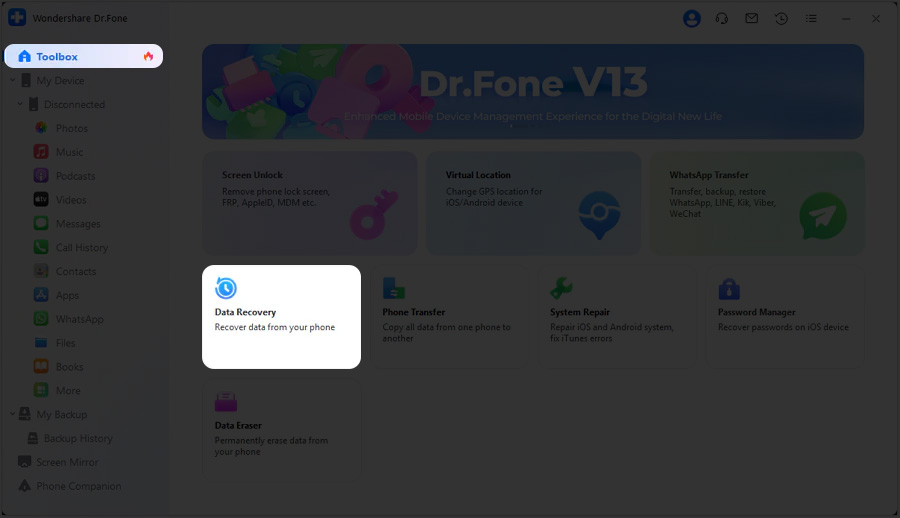
Data Recovery
- The best program for recovering deleted iPhone photos, with an unmatched success rate.
- Retrieve data from iTunes, iCloud, and iOS devices.
- Retrieve erased photos, WhatsApp chats, and more than eighteen different kinds of data.
- Compatible with the latest iterations of iOS and the iPhone.
Social Media Transfer
- Enable chat transfers across iOS and Android devices for WhatsApp (Business).
- Make a backup and restore all versions of WhatsApp, including Business.
- Support for audio files, videos, photos, and chats on WhatsApp.
- Chat history backup for WeChat, Kik, Viber, and LINE.
Screen Unlock
- Take out any lock screens that are present on your iPhone, iPad, or iPod touch.
- Get around Apple ID without a password and the iCloud activation lock.
- Get around MDM and screen time limits without sacrificing any data.
- Compatible with latest Apple device.
- Easy three-step procedure; no prior knowledge required.
- Eliminate the password, PIN, pattern, and fingerprint lock screen kinds.
- Without a PIN or Google account, get around the Android Factory Reset Protection (FRP) lock.
- Unlock well-known Android manufacturers, such as Xiaomi, Huawei, LG, and Samsung.
- Simple to use and open to all users.
Phone Transfer
- Transfer information between handsets running different operating systems, such as Android and iOS.
- Move contacts, SMS, files, music, movies, and more.
- Simple click-through approach.
- Compatible with the newest iOS 17 and Android 14 (Win).
System Repair
- Fix a variety of Android system issues, such as the black screen of death, using system repair.
- Return an Android system to normalcy without the necessary knowledge.
- Excellent success rate in fixing Android problems.
- Support for the latest S series as well as all popular Samsung devices.
- Update iOS and downgrade without jailbreaking.
- Free entry to Recovery Mode and DFU.
- Solve most problems without losing any data. Technical skill is not required.
- Works with every iPhone, iPad, and iPod Touch running every version of iOS.
Get Dr.Fone – Here
Also Read
Take Your Digital Security Controls with Nord
Install an Antivirus: Key Considerations
Directions for Using Dr.Fone | Wondershare Dr.Fone Virtual Location
Installing the software: Launch the iOS Data Recovery Tool.
Select Device Type: To recover data, select iOS.

Start the recovery process by selecting “Recover Data from an iOS device.”

Connect Device: Use USB to connect the iOS device to the PC.
Select Files for Recovery: After deciding which file types to scan, begin the process.

Scanning Procedure: Permit the platform to scan and display data that can be recovered.


Data Preview and Restoration: Choose which data to recover and transfer back to your computer or device.

| What is and How | Details |
| What is Dr.Fone? | A complete software toolbox for managing and recovering mobile data is called Dr.Fone. |
| How compatible is Dr.Fone? | Dr.Fone is compatible with Mac and Windows operating systems. |
| What kinds of data are recoverable? | Dr.Fone has the ability to restore a variety of data kinds, such as messages, contacts, images, videos, and more. |
| Compatibility of devices? | Dr.Fone is compatible with iOS and Android. |
| Is Dr.Fone safe? | Generally regarded as safe, however downloading from the official source is advised. |
| How is the data recovered? | Makes use of sophisticated scanning methods to retrieve data from backups or devices. |
| Is it possible to use damaged devices? | Able to retrieve data from iOS and Android devices that are damaged or malfunctioning. |
| Is a trial version available? | A free trial is offered, however there are restrictions. |
| How is the data recovered? | Consists of plugging in the device, scanning, file recovery, and previewing. |
| Is there customer service available? | Wondershare offers Dr.Fone customer support. |